You’ll remember that we began our work-in-progress blog series following one customer’s bathroom transformation. Read through part one of the bathroom renovation blog and find out more about the inspiration, planning and steps taken in the first week.
Stephen Jacques got in touch with BigBathroomShop after deciding he wanted to completely renovate his old bathroom. With a young family to consider, it was essential the bathroom was made suitable for all including installing a bath as well as a shower.
Stephen hoped to install a double ended bath, include a small quadrant shower enclosure and fit a small wall mounted basin.
So, BigBathroomShop caught up with Stephen to find out exactly how far he’s got:
Weekend Two
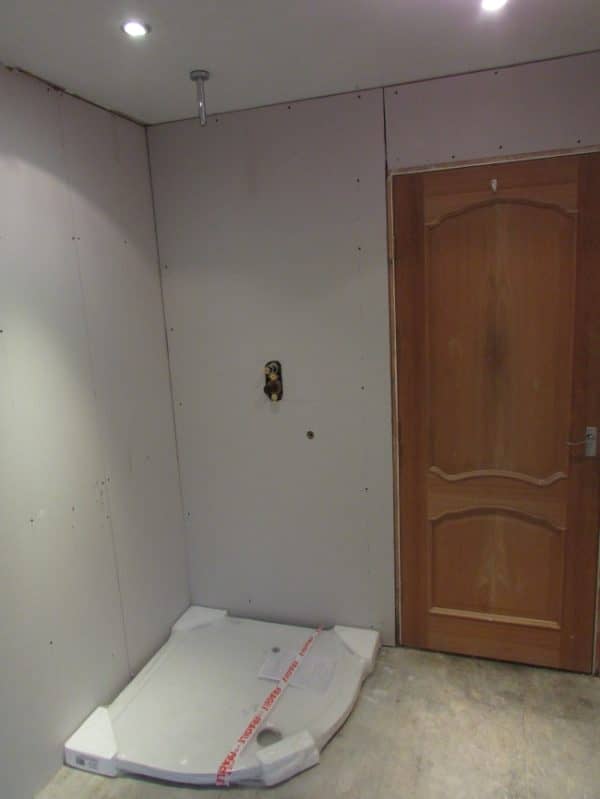
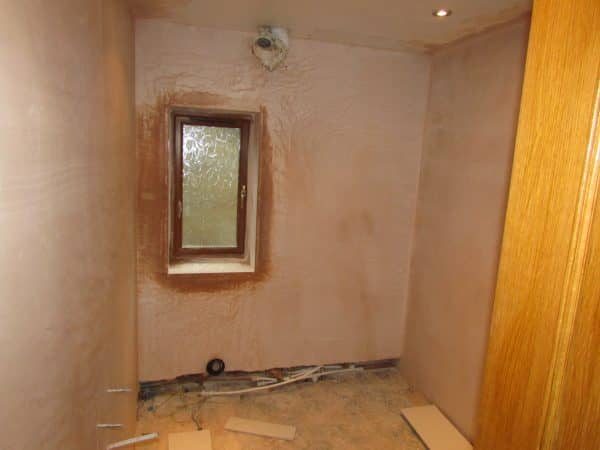
“The bathroom suite was delivered on Friday which was perfect timing to allow me to finish the plaster boarding.”
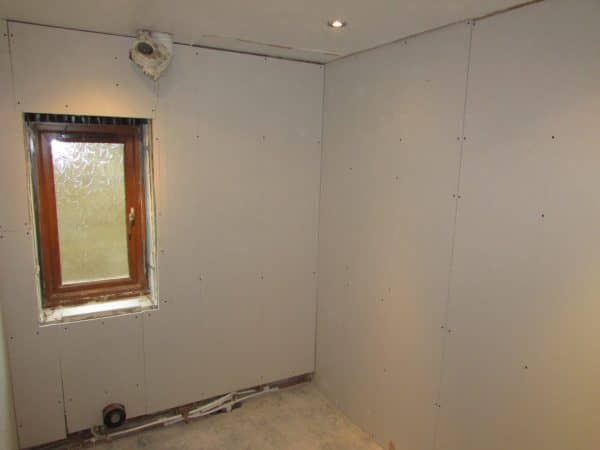
The concealed shower valve with its two outlets (ceiling head and slide rail kit) was then fitted and tested. Stephen then added extra studding where required to ensure a good fixing ready for the shower enclosure, basin, toilet and bath.
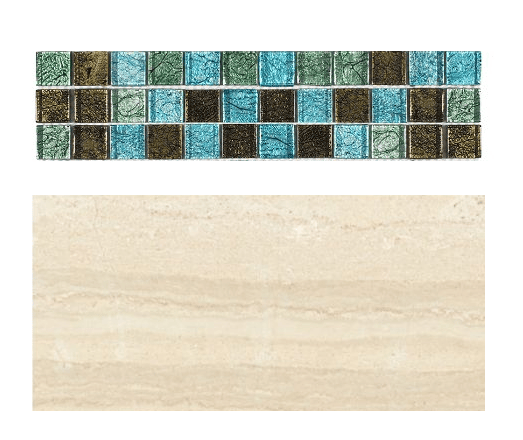
“We’ve even had time to go and choose the tiles this weekend.”
A competent DIY-er, Stephen has done a lot of the work on the bathroom himself. But for some jobs, it does require a professional. Of course, doing it yourself can save a lot of money but only attempt to tackle certain jobs if you are confident and ensure the difficult tasks are left up to a tradesperson.
It’s best to focus on the front and back ends of the project in any DIY job. In a bathroom renovation those jobs would be taking out the old bath during the demolition phase and handling the painting, for example.
Elizabeth Goltz of Design by Orion said:
“A good tile setter can make a low-cost tile look expensive. On the flipside, you could spend a fortune on tile, and a bad tile layer will make it look cheap”.
Next, Stephen employed a professional plasterer. The plasterer gave Stephen the exact finish he had been hoping for so once this had been done; all Stephen had to do at this point was wait for the plaster to dry before he could then begin painting.
Weekend Three
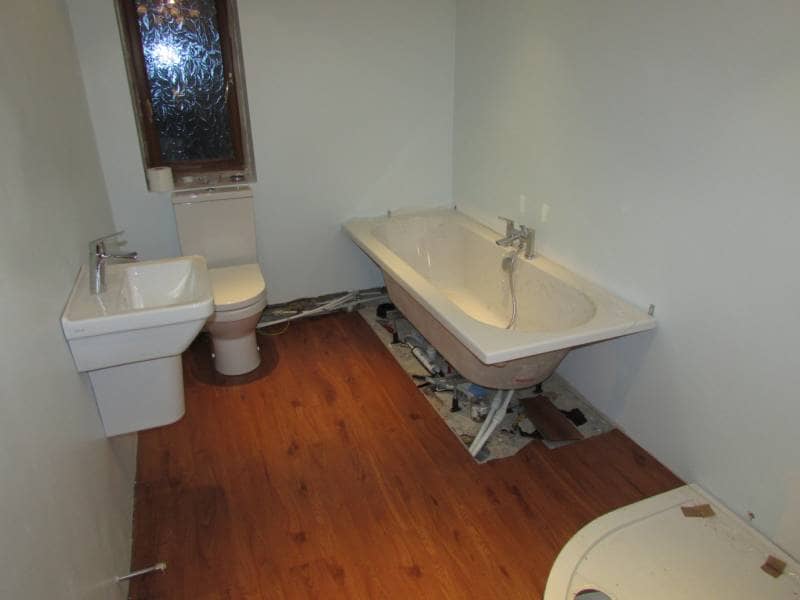
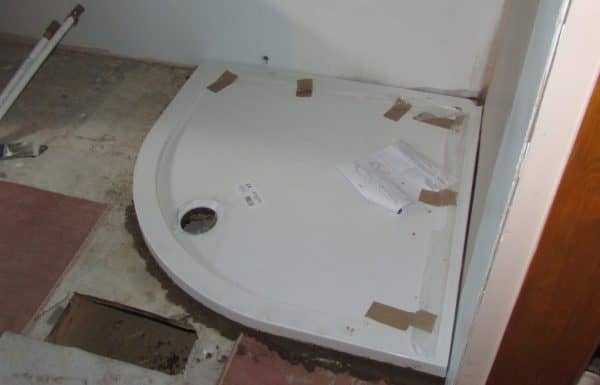
The bathroom is beginning to come together. Firstly, Stephen installed the Pearlstone Quadrant Shower Tray by Premier measuring 900mm x 900mm. This was bedded on sand and cement and then levelled.
It is recommended that all flat top shower trays are installed before tiling. This is to help to create a tight water seal. The base of the tray has to be fully supported otherwise it may not be fully level. In order to ensure the tray is bedded, the tray area is fully covered with a sand and cement mix.
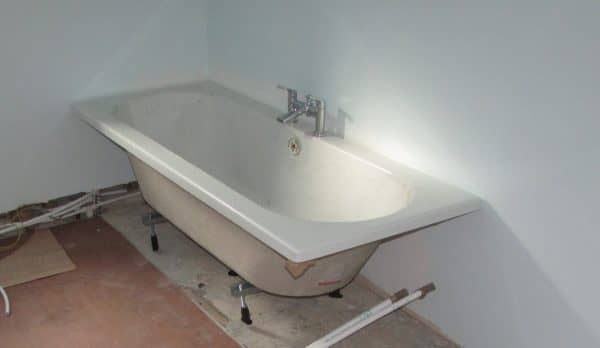
Then, Stephen installed an Otley double ended bath by Premier measuring 1200mm x 700mm.
“It’s always tricky trying to handle the bath when you are working by yourself!”
He then levelled the bath, fixed it the floor, connected both the hot and cold water and finally, fitted the waste pipe.
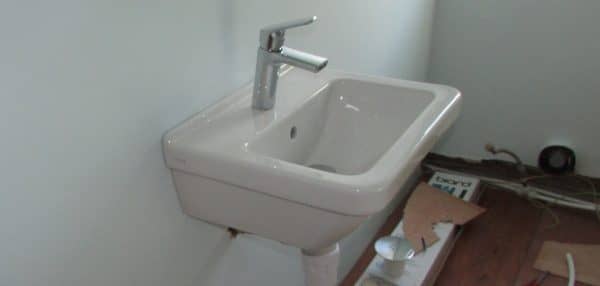
Next, he added the Vitra wall mounted basin with semi-pedestal before levelling the floor. The floor was levelled using 8mm marine plywood to allow the fitting of the vinyl flooring planks. The planks slotted together to give a solid, watertight finish.
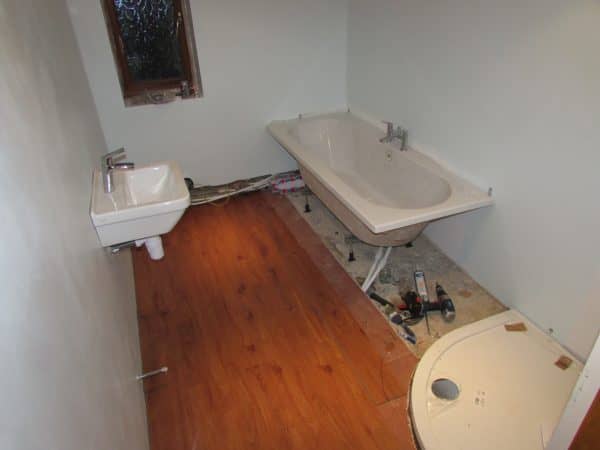
Finally, Stephen installed the Vitra S50 toilet with 50mm edge design which includes push-button, dual flush cistern and high quality bespoke soft close seat.
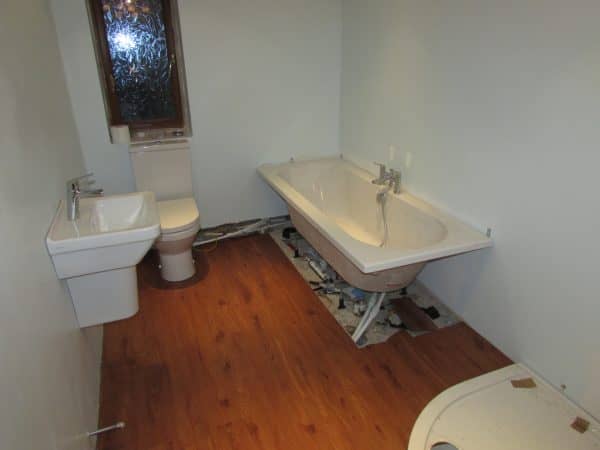
With the bathroom coming along nicely, Stephen is now waiting for the tiler to come to begin further work on the bathroom.
Check out part three of this bathroom renovation project. If you have any tips, tricks or hints or if you’re considering renovating your bathroom and want us to feature your bathroom renovation project in our work-in-progress blog series, then get in touch! Comment below, like us on Facebook or Tweet us.

Hi, I’m Liz, an interiors blogger. My main focus area is the bathroom, where I aim to inspire anyone who’s planning and designing a new bathroom – you’ll find plenty of tips, how-to guides and a wealth of ideas!


