An easy to follow step-by-step guide on how to fit a shower enclosure.
A new shower enclosure will give any bathroom an upgrade, and with so many designs to choose from, you’ll have no problem finding the perfect one.
At Big Bathroom Shop you’ll find a huge range of shower enclosures including quadrant enclosures, corner shower cubicles, walk-in showers and shower doors all in a variety of sizes to suit any bathroom, small or large.
Fitting a bathroom should be carried out by a qualified trades-person to ensure a professional result.
Attempting to install your new bathroom yourself may seem like a good way to save money on bathroom installation costs, but we recommend hiring an expert.
This guide on how to install a shower enclosure is intended to demonstrate how an enclosure is fitted.

What is a shower enclosure?
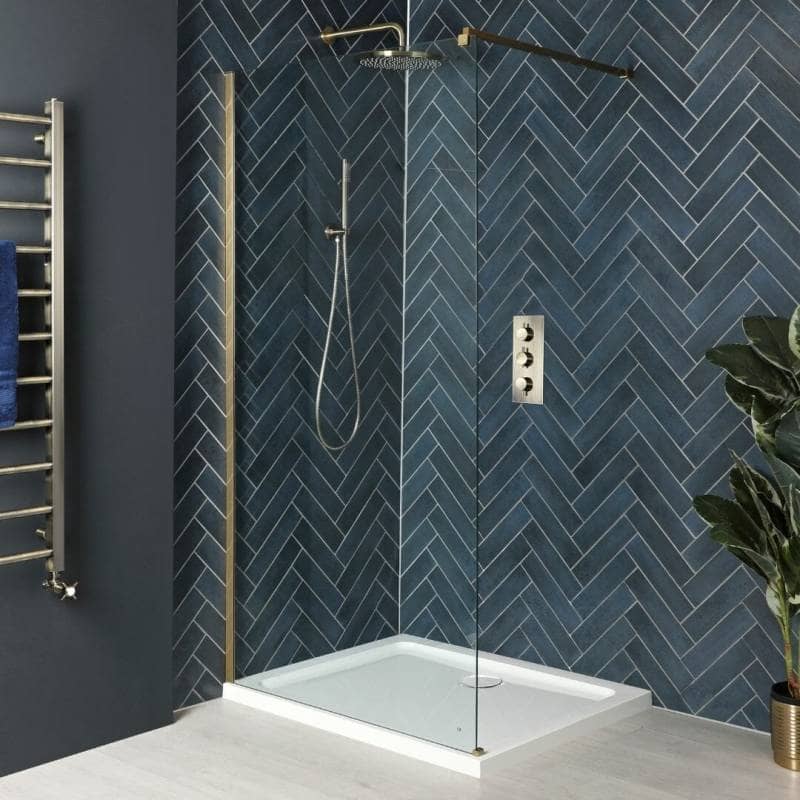
A shower enclosure or shower cubicle are panels that enclose your shower area, giving protection to the rest of your bathroom from water splashbacks.
The panels help contain any water coming from the shower head in the enclosure.
Shower enclosures come in a variety of designs to enclosure your shower, including pivot or fold-open, glass panels, sliding doors, and walk- in.
What enclosures are available at Big Bathroom Shop?
Here at Big Bathroom Shop, we pride ourselves on our large and high-quality shower enclosure range.
We offer an enclosure to suit any bathroom design.
Down to size, style preference, and practicality, all of our shower cubicles have been carefully selected to give you the best shower experience at a comfortable price.
What shower enclosures are there?
- Walk-in Shower Enclosure
- Quadrant Shower Enclosure
- Wet Room Glass Panels
- Square Shower Enclosure
- Sliding Shower Doors Enclosure


How much money will I save by installing a shower enclosure myself?
According to Checkatrade, depending on the area you live in, the average shower enclosure installation cost is between £500 – £1,500.
This is broken down by the hourly rate of your plumber and the cost of the enclosure along with any additional parts.
Installing a shower tray
If you haven’t done so already, you will need to fit the shower tray first before installing the shower enclosure – see our full guide on how to install a shower tray for step-by-step instructions.
- If you are fitting an acrylic shower tray, you will need to screw the feet into position first and inserting the waste outlet and trap.
- Position the shower tray and use a spirit level to ensure it is perfectly level. Connect the tray to the plumbing.
- To conceal the plumbing underneath the shower tray, you will need to attach the panel by clipping it into place.
- Seal around the edges of the shower tray, and where the panel meets the floor and tray to ensure a watertight finish and allow to set for 24 hours.
To help you with this, refer to our guide on how to seal a shower tray.
INnstalling a shower enclosure
Before installing your new shower enclosure, you should check it over for any damage or faults immediately after delivery. Make sure the water is turned off before attempting any DIY in the bathroom.
The below instructions are to be used as a guide for fitting a square shower enclosure into the corner of the bathroom, where only a door and side panel are needed. But the same principle applies to other types of shower enclosures.
Tools and items required:
- Tile or pilot/ electric drill
- Sealant gun
- Clear silicone sealant
- Spirit level
- Screwdrivers
- Door handles
- Glass panels
- Channels
- Fixing bracket
Steps for fitting a shower enclosure
There is a wide range of shower enclosure shapes and sizes. In this article, we cover how to fit a square shower enclosure.
We always recommend this to be a two-man job – so you may need another person to help with any heavy lifting and positioning.
Step 1
Start with the wall profiles, that hold your panels in position to the wall. Using your spirit level to ensure they’re vertical, place the channels at the corner edges of your tray. (generally, these are set 10mm in from the edge of the shower tray).
Step 2
Mark the holes in the wall profiles on your tiles, using a marker pen/ pencil. Using your electric drill and a 6mm tile drill/pilot drill bit, make the holes in the wall on your marks. Insert red rawl plugs and screw the wall profiles to the wall.
It is good practice to put a small amount of clear silicone in the holes you have made before screwing the profile into the wall. This ensures that water cannot penetrate through the holes you have made.
Step 3
You need to know which side your door will be on. Once you have decided, take the side panel which will remain permanently in place, and slot it into the selected profile.
Step 4
Fit the door panel into the other profile.
Top tip: This is the time to call in a friend or family member to help out.
Step 5
Both panels will now be positioned on the outside edges of your shower tray. You will now need to fix them together at the corner, following the instructions supplied with the enclosure.
Step 6
Using your screwdriver, screw the panels into position using the fixings supplied. Once you have done that, ensure the enclosure runs parallel to the outer edge of your tray.
Step 7
Your enclosure should come with some small screws and screw caps which should be used on the insides of your wall profiles.
Generally, you would drill through the profile and the end of the panels with a 3mm drill bit which is sometimes supplied. The small screws then fix together to ensure the enclosure can’t move.
The screw caps are used to cover the screws for a more aesthetically pleasing look.
Step 8
Fit the handle to your door.
Step 9
Seal around the outer edges of the enclosure using clear silicone sealant and your sealant gun. Do not seal the inside edges.
If you have followed our steps correctly, you should now have smoothly installed a shower enclosure, well done!
John has a background in sports journalism, and lists content writing amongst his primary passions. He provides expert bathroom trends commentary and analysis, as well as offering meticulously researched answers to the most frequently asked bathroom posers.


