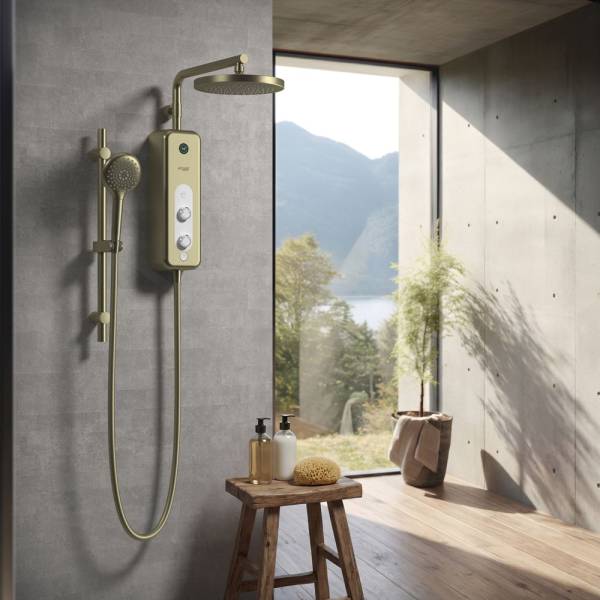
Moisture from showers can stain grout leaving it looking grubby.
Minor stains and mould can be removed with grout cleaner, which contains detergents and biological agents, but if the grout is particularly dirty you’ll need to scrape it out and replace it.
In this step-by-step guide we explain how to regrout a shower wall.
Grouting tips
- Do not mix more grout than you will use within 30 minutes to cover an area as the grout mix will thicken and become unusable.
- Do not add too much water to the grout mix as you won’t be able to apply it without it seeping out of the joints. If the consistency is too thin just add more grout powder to the mix to thicken it up.
- Wear gloves when using grout to protect your hands.
- Avoid using harsh cleaning chemicals until the grout has completely set.
- Learn how to keep grout bright and fresh with our top tips

How to regrout a shower
Tools required:
- Trowel
- Grout spreader
- Grout shaper
- Sponge
- Cloth
1. Removing the old grout
Use a grout rake to remove the old grout at least half the thickness of the tiles – take care not to scratch the edges. Begin removing the grout from the vertical joints and then the horizontal ones. Once all the old grout has been removed you can apply fresh, new grout.
Grout can be bought in powder form and mixed with water, or pre-mixed and ready to use. Whichever you choose, make sure to check you’ve got enough for the area you want to cover, and that it’s waterproof. Grout is also available in different colours to match or complement your tiles.
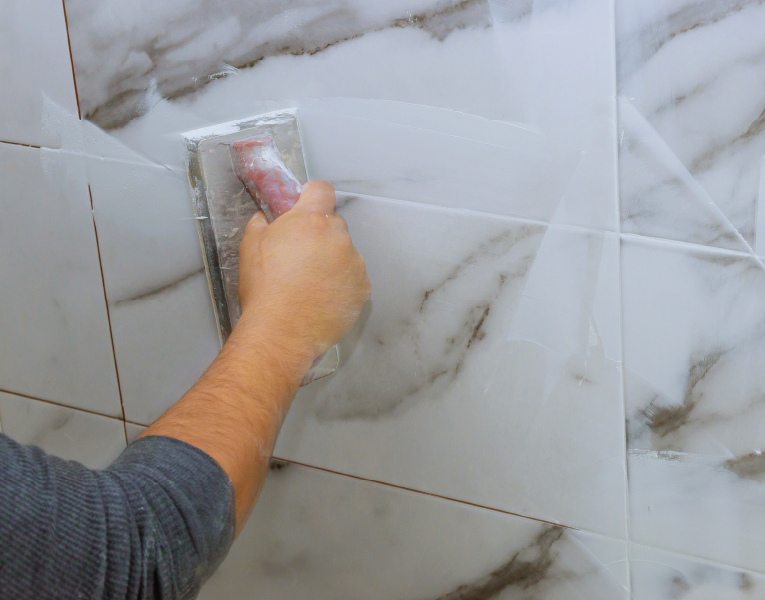
2. Apply the grout
Take a small amount of grout and press it onto the surface of the tiles with a trowel. Use a grout spreader to spread it – use long, upward diagonal strokes and work it into the joints between the tiles. Do this until all the joints are grouted. It’s important to work quickly as the grout will soon start to harden.
3. Remove excess grout
When you’ve finished putting the new grout on, go over the tiles with a damp sponge to remove any excess. Take care not drag any grout from the tiles.
4. Use a grout shaper to finish off the joints
Once the grout has slightly hardened, use a grout shaper to finish off the joints for a neat finish. Simply pull the shaping tool along the joints in one continuous movement. If any gaps do appear in the joints, press in a little more grout with your finger and sponge off any excess.
5. Polish with a soft cloth
You’ll find a powdery film appears on the tiles as the grout dries – this can easily be polished off with a soft, clean cloth.

John trained in journalism before joining the Big Bathroom Shop team. His exceptional journalism skills (and modesty) allow him to meticulously research bathroom topics and bring you the very latest news and views on all things bath and shower related. He’s a dab hand at Scrabble and is currently undertaking a domestic plumbing course to be sure he actually does know what he’s talking about!